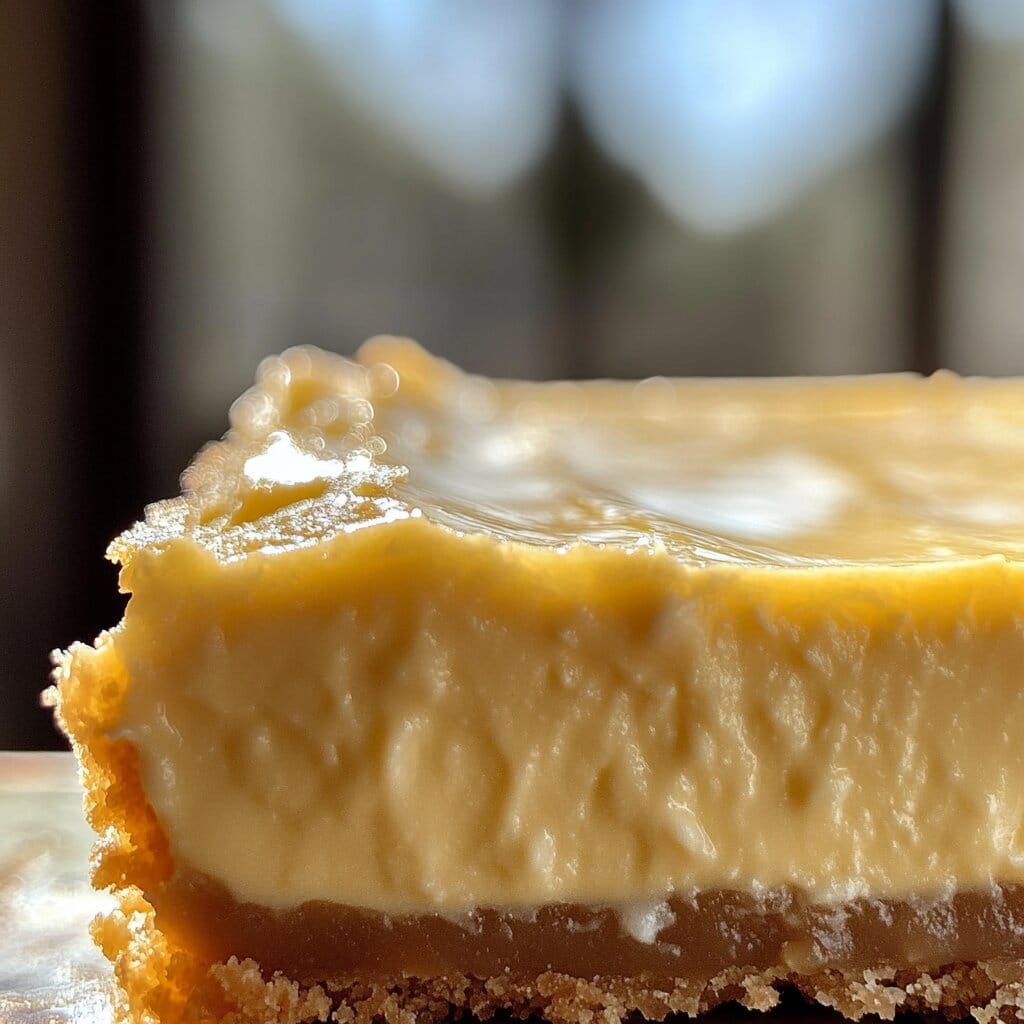
There’s something magical about a creamy lemon tart. Its smooth texture, tangy yet sweet flavor, and buttery crust make it a timeless dessert loved by all. Perfect for special occasions or as a simple treat to indulge in, the lemon tart is as versatile as it is elegant. In this guide, you’ll learn everything needed to master this classic recipe, from choosing the best ingredients to baking and presenting your masterpiece.

The History of Creamy Lemon Tart
Origins of Lemon Tarts
The creamy lemon tart, a dessert steeped in history, has its roots in European cuisine, particularly in France. Known as tarte au citron, this dish was traditionally served in royal courts and among the elite due to its luxurious ingredients like butter and sugar, which were once costly commodities. The combination of citrus and pastry was celebrated for its refreshing balance of tartness and sweetness, offering a sophisticated alternative to other desserts of the time.
Evolution Through the Ages
As trade routes expanded and citrus fruits became more widely available, lemon tarts began to gain popularity across different regions. The dessert found its way into English cookbooks by the 18th century, where recipes often included cream or milk to enhance the custard’s richness. Over time, adaptations emerged, with countries infusing their unique flavors and techniques into the recipe, such as the addition of meringue or a crumbly shortbread crust.
Cultural Significance
Today, the lemon tart is celebrated worldwide for its simplicity and elegance. It’s a staple in patisseries and home kitchens alike, featured at events ranging from afternoon teas to grand celebrations. In France, it remains a symbol of traditional pastry-making, while in other parts of the world, it has become a canvas for creative culinary expression, with chefs experimenting with flavors like basil, ginger, or lavender.
Essential Ingredients
The Core Components of a creamy Lemon Tart
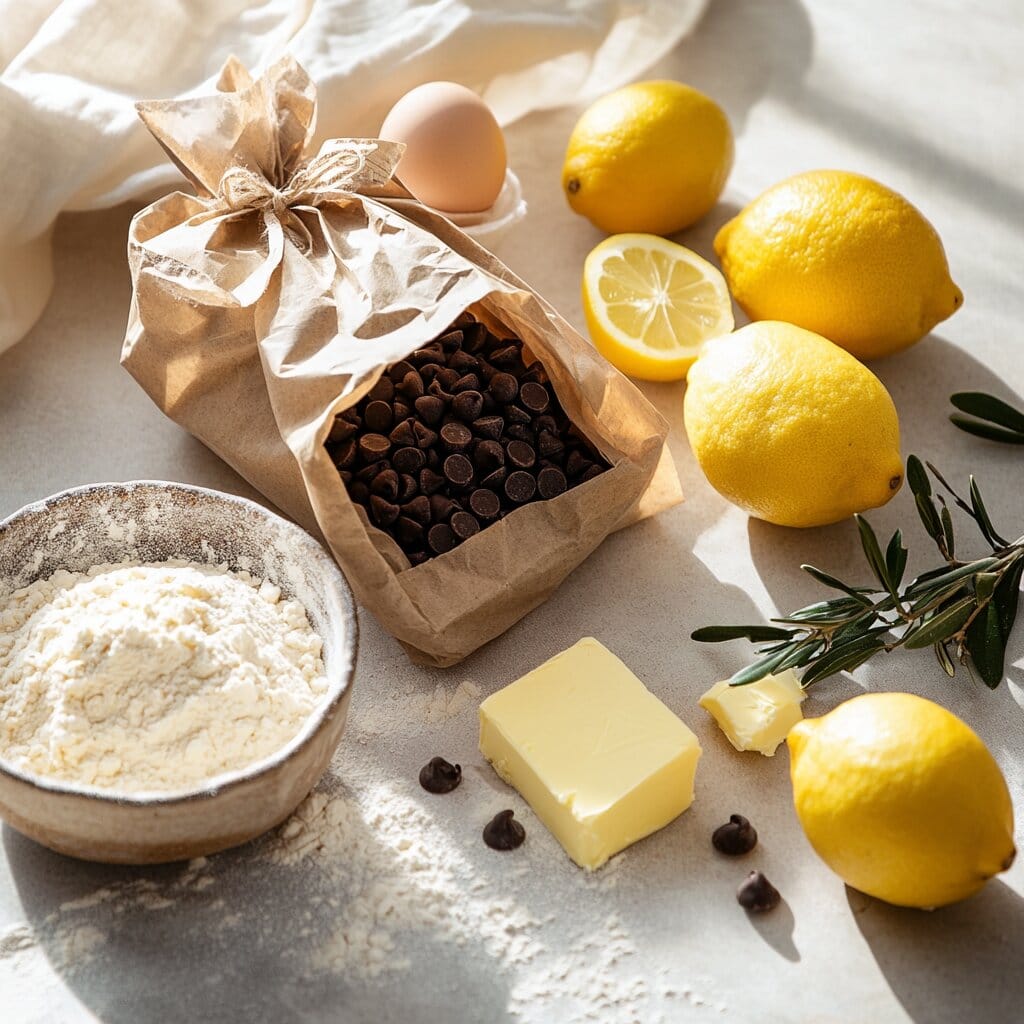
Making a creamy lemon tart requires just a handful of ingredients, yet each plays a crucial role in creating the dessert’s signature texture and flavor. Let’s explore these components in detail:
Lemons
The star of the show, lemons provide the tart’s tangy and refreshing flavor. Freshly squeezed lemon juice and grated zest are essential for capturing the vibrant citrus aroma and natural tartness. Meyer lemons, with their subtle sweetness, are a popular choice, though traditional lemons yield a more pronounced tang.
Butter
Unsalted butter is vital for both the crust and the filling. In the crust, it creates a flaky, tender texture, while in the filling, it adds richness and a silky smooth consistency. High-quality butter can elevate the tart’s overall taste.
Sugar
Granulated sugar is used to balance the tartness of the lemons and sweeten the custard. The amount can be adjusted slightly to suit personal preferences, but a harmonious balance is key to achieving the desired flavor profile.
Eggs
Eggs are the binding agent in the lemon custard, giving it structure while maintaining a creamy texture. Whole eggs are typically used, though some recipes call for additional yolks for added richness.
Heavy Cream
A splash of heavy cream transforms the filling into a luxurious custard, softening the acidity of the lemons while contributing to the tart’s creamy mouthfeel.
Flour
For the crust, all-purpose flour forms the foundation of a buttery pastry. Its protein content provides the structure needed for a sturdy yet tender shell.
Additional Flavor Enhancers
While the core ingredients suffice for a classic lemon tart, optional additions can add depth and complexity to the flavor:
- Vanilla Extract: A hint of vanilla can mellow the tartness and complement the lemon’s brightness.
- Salt: A pinch of salt in the crust and filling enhances the overall flavor by balancing the sweetness.
- Herbs and Spices: Fresh thyme, lavender, or even a dash of ginger can introduce unique flavor profiles.

Choosing the Perfect Lemons
Types of Lemons for the Best Flavor
The choice of lemons significantly impacts the flavor and aroma of your creamy lemon tart. Here’s a closer look at some popular types of lemons:
Eureka Lemons
Eureka lemons are the most common variety found in grocery stores. They are highly acidic and offer a classic lemony flavor, making them an excellent choice for tart recipes that require a bold citrus punch.
Meyer Lemons
A hybrid of lemon and mandarin orange, Meyer lemons are sweeter and less acidic than Eureka lemons. Their floral aroma and subtle tang make them a favorite for those seeking a milder, slightly sweet tart flavor.
Lisbon Lemons
Similar to Eureka lemons but slightly juicier, Lisbon lemons are another widely available variety. They have a bright and tangy flavor profile that works well in custard-based desserts.
Specialty Lemons
Varieties like Ponderosa or Variegated Pink Lemons add an interesting twist to the traditional tart. These options are often sweeter or more visually appealing, but they may be harder to find.
Selecting Fresh Lemons
Choosing fresh, high-quality lemons is key to achieving a flavorful tart. Look for the following characteristics:
- Firmness: The lemon should feel firm and heavy for its size, indicating juiciness.
- Skin Texture: Smooth, thin-skinned lemons are typically more flavorful than those with thick, bumpy rinds.
- Color: Bright yellow lemons with no green tinges are ripe and ready to use.
Storing Lemons for Maximum Freshness
If you’re not using your lemons immediately, proper storage can help preserve their quality:
- Room Temperature: Lemons can be kept at room temperature for up to a week if you plan to use them soon.
- Refrigeration: Store lemons in a sealed bag in the fridge to extend their shelf life to a few weeks.
- Freezing: Zest and juice can be frozen separately in ice cube trays for long-term use.
Making the Tart Base
Creating a Buttery and Flaky Crust
The crust is the foundation of any great tart, providing the perfect contrast to the creamy lemon filling. Follow these steps to achieve a tender, buttery base:
Ingredients for the Tart Base
- 1 ¼ cups (150g) all-purpose flour: The structure of the crust.
- ½ cup (115g) unsalted butter, cold and cubed: Adds flakiness and flavor.
- 2-3 tablespoons ice water: Helps bind the dough without overhydrating.
- ¼ cup (30g) powdered sugar: Adds a hint of sweetness.
- Pinch of salt: Enhances flavor.
Step by Step Instructions
1. Combine Dry Ingredients
In a mixing bowl or food processor, combine the flour, powdered sugar, and salt. If using a food processor, pulse a few times to mix evenly.
2. Cut in the Butter
Add the cold, cubed butter to the dry ingredients. If using a food processor, pulse until the mixture resembles coarse crumbs. If mixing by hand, use a pastry cutter or your fingers to work the butter into the flour.
3. Add Ice Water
Gradually add ice water, 1 tablespoon at a time, until the dough starts to come together. Be careful not to overmix, as this can make the crust tough. The dough should hold together when pinched but not feel sticky.
4. Chill the Dough
Shape the dough into a disc, wrap it in plastic wrap, and refrigerate for at least 30 minutes. This resting period allows the gluten to relax and the butter to firm up, resulting in a tender crust.

Rolling Out and Fitting the Dough
1. Roll Out the Dough
On a lightly floured surface, roll out the chilled dough into a circle about 2 inches larger than your tart pan. Rotate the dough frequently to ensure even thickness and prevent sticking.
2. Transfer to Tart Pan
Carefully drape the dough over your rolling pin and transfer it to the tart pan. Press the dough gently into the corners and up the sides. Trim off any excess dough by running a knife or rolling pin along the edges.
3. Prick the Base
Using a fork, prick the base of the crust to prevent it from puffing up during baking.
Blind Baking the Crust
1. Prepare for Blind Baking
Place a sheet of parchment paper over the crust and fill it with baking weights or dried beans.
2. Bake the Crust
Preheat your oven to 375°F (190°C). Bake the crust for 15 minutes, then remove the parchment paper and weights. Bake for another 5-10 minutes, or until the crust is lightly golden. Allow it to cool completely before adding the filling.
The Creamy Lemon Filling
Crafting a Velvety Lemon Custard
The creamy lemon filling is the heart of the tart, offering a luxurious balance of tanginess and sweetness. Here’s how to create this luscious custard step by step.
Ingredients for the Filling
- 3 large eggs: Provide structure and richness.
- 3 large egg yolks: Add extra creaminess and stability.
- ¾ cup (150g) granulated sugar: Balances the tartness of the lemons.
- ½ cup (120ml) freshly squeezed lemon juice: The star ingredient for tangy flavor.
- Zest of 2 lemons: Infuses the custard with vibrant citrus aroma.
- ½ cup (115g) unsalted butter, cubed: Creates a silky texture and rich taste.
- ¼ cup (60ml) heavy cream: Enhances the filling’s creamy consistency.
Preparing the Lemon Custard
Step-by-Step Instructions
1. Whisk the Eggs and Sugar
In a heatproof bowl, whisk together the eggs, egg yolks, and granulated sugar until the mixture is smooth and pale. This step ensures the custard has a creamy base.
2. Add Lemon Juice and Zest
Stir in the freshly squeezed lemon juice and zest, mixing thoroughly to incorporate the citrus flavors evenly.
3. Cook the Custard
Place the bowl over a saucepan of simmering water (double boiler setup). Whisk constantly to prevent curdling as the custard thickens. The mixture should reach a temperature of about 170°F (77°C) and coat the back of a spoon.
4. Add Butter
Remove the bowl from the heat and immediately whisk in the cubed butter. Stir until the butter is fully melted and incorporated, giving the custard a glossy finish.
5. Strain for Smoothness
For an ultra-smooth filling, strain the custard through a fine mesh sieve into a clean bowl. This step removes any lumps or zest remnants.
6. Blend in the Cream
Gently fold in the heavy cream, which adds richness and ensures the filling stays soft and creamy even after chilling.
Tips for Perfect Lemon Custard
- Avoid High Heat: Cooking the custard slowly over a double boiler prevents scrambling the eggs.
- Whisk Constantly: Consistent whisking ensures a silky texture.
- Taste Balance: If the mixture feels too tart, a little extra sugar can be added at the whisking stage.
Assembly and Baking
Combining the Crust and Filling
Now that your tart crust and lemon custard are ready, it’s time to bring everything together and achieve the final baked masterpiece. Follow these steps for assembly and baking perfection.
Preparing for Assembly
1. Preheat the Oven
Set your oven to 350°F (175°C) to prepare for the final bake.
2. Ensure the Crust is Cool
The crust should be completely cooled to prevent the heat from affecting the custard consistency during assembly.
Assembling the Tart
1. Pour the Filling
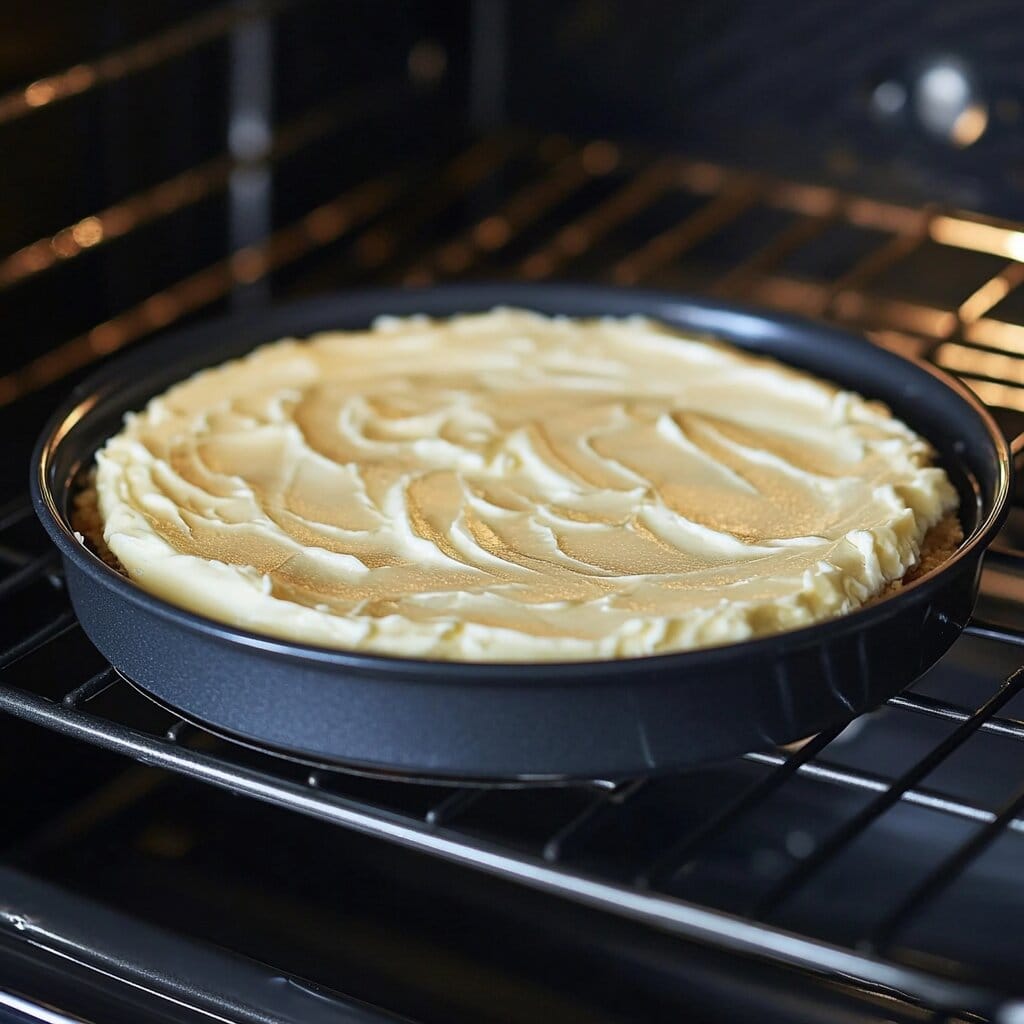
Carefully pour the lemon custard into the cooled tart shell. Use a spatula to spread it evenly and smooth the surface.
2. Remove Air Bubbles
Gently tap the tart pan on the counter a few times to release any trapped air bubbles in the filling.
Baking the Tart
Achieving the Perfect Bake
1. Bake the Assembled Tart
Place the filled tart in the preheated oven and bake for 12-15 minutes. The custard should set around the edges while the center remains slightly wobbly—it will firm up as it cools.
2. Monitor Carefully
Keep a close eye on the tart during baking. Avoid overbaking, as this can cause the custard to crack or become overly firm.
3. Remove and Cool
Remove the tart from the oven and allow it to cool completely at room temperature. This prevents condensation from forming during the chilling process.
Chilling the Tart
For the custard to set fully and the flavors to meld, chilling is essential:
- Refrigerate for 2-4 Hours: Once cooled to room temperature, transfer the tart to the fridge. Cover it loosely with plastic wrap or foil.
- Check Consistency Before Serving: The custard should feel firm yet creamy when pressed lightly with a spoon.
Enhancing the Presentation
Simple Garnishes
- Powdered Sugar: Lightly dust the surface for a classic touch.
- Whipped Cream: Pipe decorative swirls around the edges.
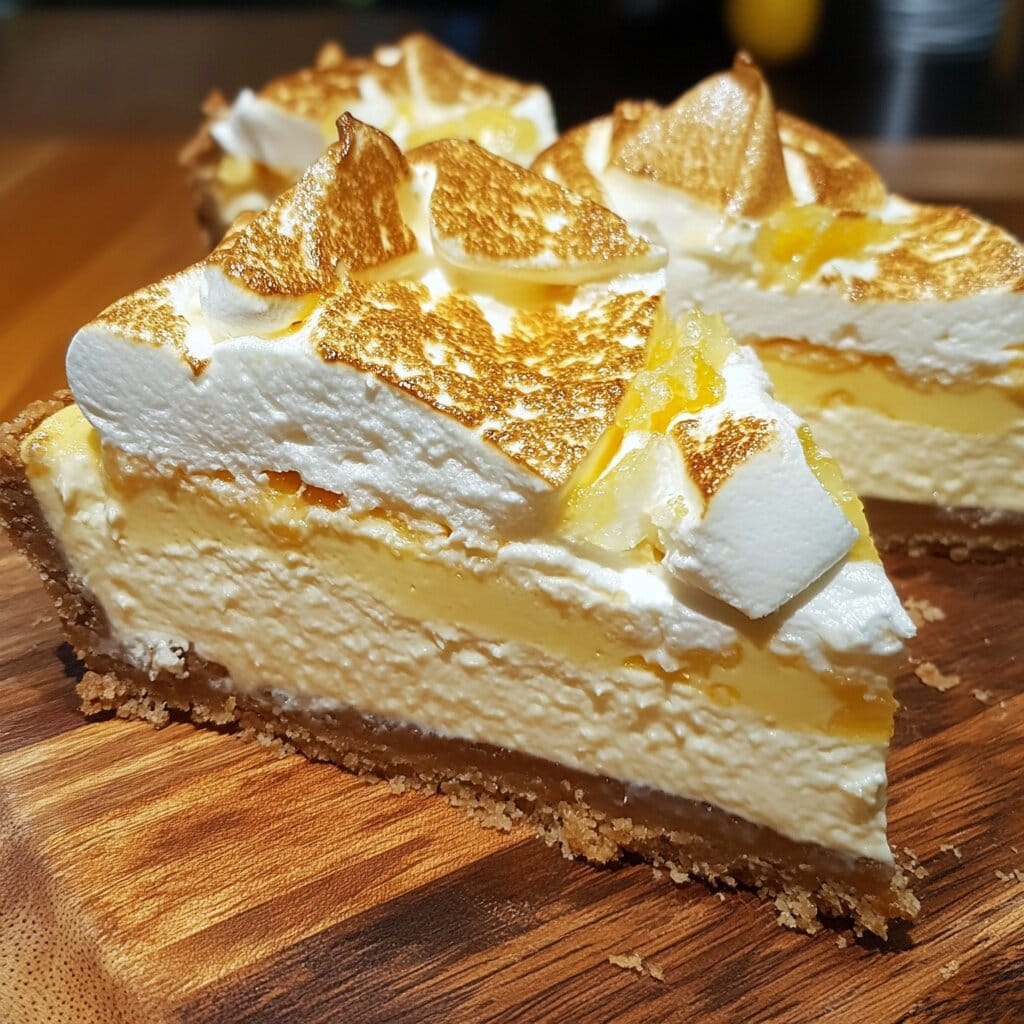
- Fresh Fruit: Add raspberries, blueberries, or thin lemon slices for a pop of color.
Artistic Options
- Candied Lemon Peel: Thin strips of lemon peel cooked in sugar syrup make an elegant topping.
- Edible Flowers: Lavender or pansies add sophistication and a burst of natural beauty.
Chilling and Garnishing
Perfectly Chilled Lemon Tart
The final stage in creating your creamy lemon tart is chilling it to perfection and adding beautiful garnishes. Proper chilling ensures the custard sets completely, making every bite velvety and smooth.
Cooling and Refrigeration
- Cooling to Room Temperature: Allow the baked tart to cool at room temperature for about 1 hour. This prevents a sudden temperature change that could cause condensation.
- Refrigerating: Once cooled, cover the tart with a loose sheet of plastic wrap or foil and place it in the fridge for 2-4 hours. This step enhances the texture and allows the flavors to meld beautifully.
Checking Readiness
To check if the tart is ready to serve, gently press the center with a clean finger or the back of a spoon. It should feel firm yet yield slightly, indicating a perfectly set custard.
Garnishing Your Lemon Tart
Classic Garnishes
- Powdered Sugar Dusting: A light dusting of powdered sugar gives the tart a refined, elegant finish.
- Lemon Slices: Thinly slice lemons into rounds or half-moons and place them decoratively around the tart.
Fresh and Fruity Options
- Berries: Add vibrant colors and complementary flavors with raspberries, blueberries, or strawberries arranged in a pattern.
- Mint Leaves: A few sprigs of fresh mint can provide a refreshing and fragrant touch.
Creative and Sophisticated Ideas
- Candied Lemon Zest: Thin strips of lemon peel cooked in sugar syrup until translucent add a gourmet flourish.
- Edible Flowers: Use lavender, pansies, or other food-safe flowers for a visually stunning presentation.
- Chocolate Drizzle: For a unique twist, drizzle melted white or dark chocolate over the tart in a zigzag pattern.
Tips for Picture-Perfect Presentation
- Use a Hot Knife: When slicing the tart, dip the knife in hot water and wipe it dry for clean, smooth cuts.
- Serve with Sauce: A dollop of raspberry coulis or a swirl of caramel sauce on the plate can elevate the presentation.
Frequently Asked Questions
What is cream tart made of?
A cream tart is typically made with a base of shortcrust pastry or cookie dough and is filled with a smooth, creamy mixture such as whipped cream, cream cheese, or pastry cream. The tart is often topped with fresh fruits, edible flowers, or decorative elements like macarons or meringue. The combination of a crisp base and velvety filling creates a delightful texture and taste.
Is lemon tart a sativa or indica?
“Lemon Tart” as a dessert is a creamy citrus-flavored treat made with lemons, but if you are referring to the cannabis strain called Lemon Tart, it is a hybrid strain. It combines both sativa and indica properties, with effects often leaning towards uplifting and energizing (sativa-like) while still offering some relaxation (indica-like). This cannabis strain is not related to the dessert, but both share the vibrant lemony aroma.
What is lemon tart made of?
A traditional lemon tart is made with a buttery shortcrust pastry and filled with a smooth, tangy lemon custard. The filling typically includes fresh lemon juice, lemon zest, eggs, sugar, and butter. Some recipes also incorporate heavy cream for added richness. Once baked and chilled, the tart is often garnished with powdered sugar, whipped cream, or fresh fruit.
What are the four types of tarts?
Tarts come in many varieties, but here are four common types:
- Fruit Tarts: These feature a pastry base filled with custard or cream, topped with fresh fruits like berries, kiwis, or peaches.
- Custard Tarts: Filled with a rich, creamy mixture such as egg custard or lemon curd, like the classic lemon tart.
- Savory Tarts: These include quiches or tarts filled with ingredients like cheese, vegetables, or meats, often served as a main dish or appetizer.
- Chocolate Tarts: Made with a pastry shell filled with ganache or chocolate mousse, offering a rich, indulgent dessert option.
Conclusion
The creamy lemon tart is a timeless dessert that combines a tangy citrus filling with a buttery, flaky crust for an irresistible treat. From its rich history to the careful selection of ingredients and tools, each step in making this tart showcases the beauty of simple yet refined baking. Whether served as a centerpiece for special occasions or as a comforting indulgence at home, this dessert never fails to impress.
By mastering the techniques of creating the perfect crust and custard, and exploring creative garnishes, you can make a lemon tart that not only looks stunning but also tastes heavenly. Its versatility and charm make it a favorite among dessert lovers worldwide.
Now that you’ve learned how to prepare, assemble, and garnish this decadent dessert, it’s time to roll up your sleeves and bake a creamy lemon tart of your own. Your efforts will be rewarded with a dessert that’s as delightful to make as it is to savor.

